In this article, the following Field Tool topics are discussed:
- Collect Information
- Complete the Form
- Take Photos
- Save a GPS Track Line
Collect Information
The Field Tool provides users with the ability to add features and information to the map that will then be shared system-wide.
Users can place information on the map manually, or they can use Active GPS to establish the location of the feature.
The basic steps include:
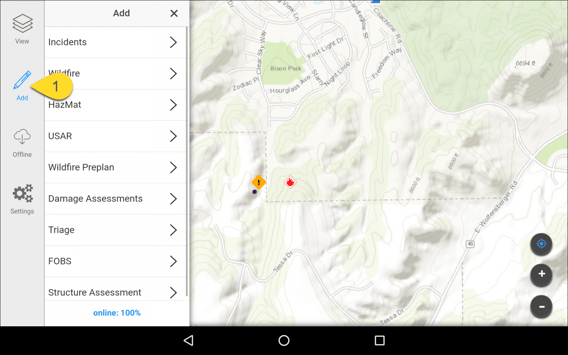
- Select the data type to be added from the Add menu.
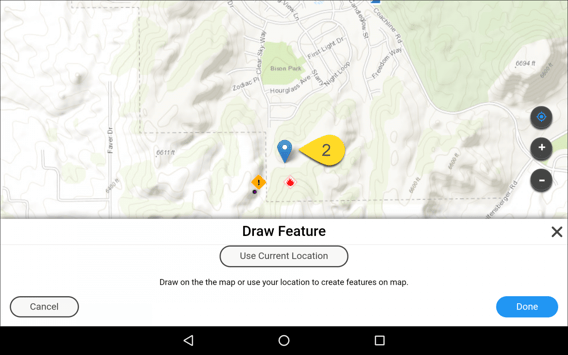
- Place the data type on the map manually, or by Current Location (GPS).
- Complete the information in the form. (For more information, refer to the next section in this article: "Complete the Form.")
- If available for that feature type, take a photo.
- Tap Save Feature.
Complete the Form
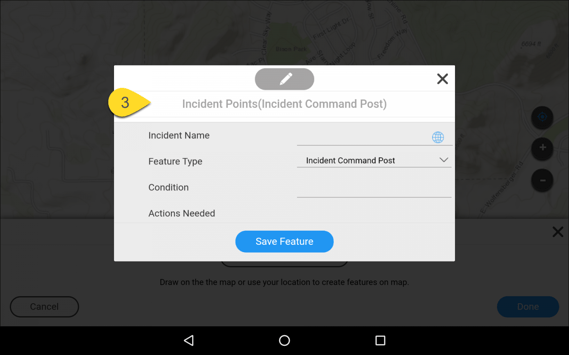
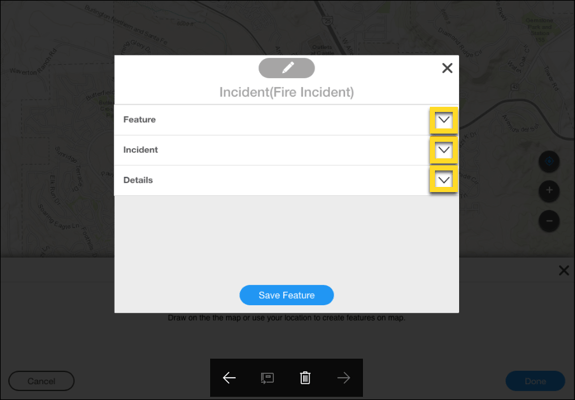
Prior to saving a feature, an info window will open with a form to capture information about the feature placed on the map.
- Complete the form and select Save Feature. (Closing the window by tapping the
 icon at the top right will not save.)
 - Confirm that the data saved on the map.
At the top of the info window, you'll see the label for the type of feature being edited. The info window has a white control bar that is always visible. This is where you can close the window (without saving), delete the feature, add a photo (if available for that feature type), and enter Editing mode. The remainder of the info window form shows the information labels (data fields).
Scroll up and down to reach all parts of the window, especially if you have a small screen.
The date, latitude, and longitude will be auto-filled in the Details section. If you have completed your user profile in Settings, your name will be auto-filled in the Created By and/or Modify By fields.
Always tap Save Feature when you are finished.
Take Photos
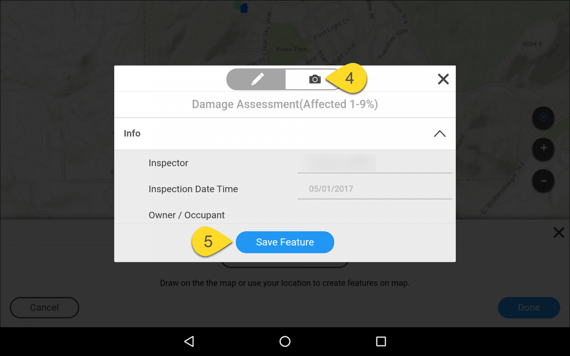
You have the option to add photos for certain feature types. You'll know if this is the case if you see a camera icon at the top of a map feature edit window.
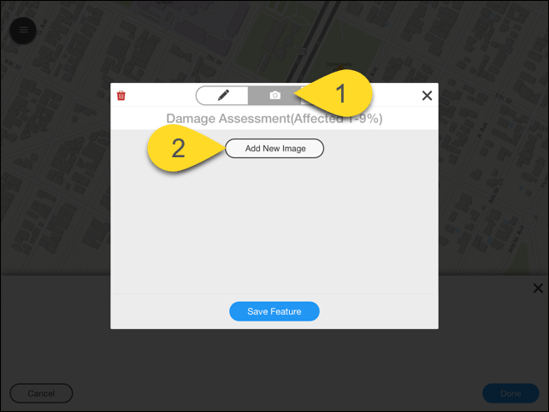
To add a photo while adding or editing a feature:
- Tap the camera icon on the modal bar to access the tool.
- Press Add New Image.
- Follow your device's instructions to take a photo or choose one from the photo library.
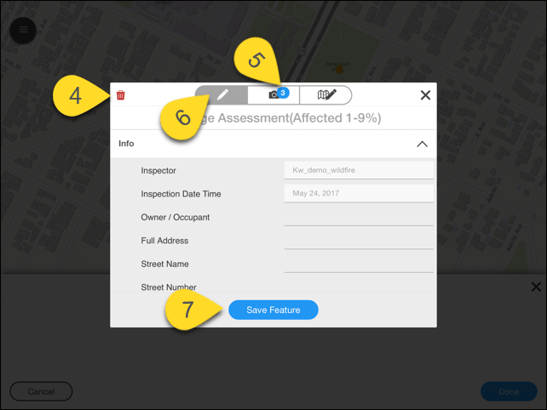
- If you do not like the image, tap the small red trash can and retake it.
- The number next to the camera indicates the number of saved images. You can add up to five per feature.
- To return to the form at any time, tap the pencil icon, or
- To save, click Save Feature.
Note: Photos are also saved to your device's photo Gallery (Android) or Camera Roll (iOS). This provides an easy way to view and manage photos outside of the app, as well as provides a backup.
Save a GPS Track Line
When the Field Tool is online, you can draw a line (e.g., evacuation route, fire perimeter, boundary line) based on your device's GPS change in location.
- Add a line or perimeter feature to the map. From the Add menu button, select a category, and then a map feature.
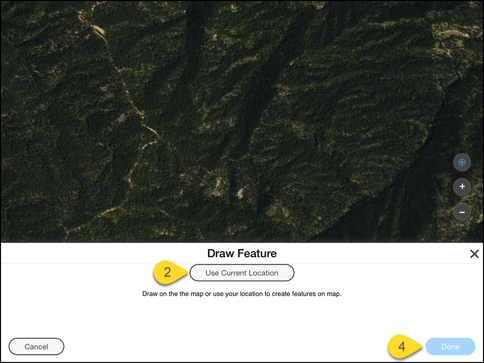
- Tap the Use Current Location button (just under the Draw Feature heading).
- Follow the prompts at the bottom of the screen.
- End by selecting the check mark at the bottom of the screen, adding any notes (if needed), and then selecting Done.
Note: The GPS location accuracy may not be sufficient to create the cookie crumbs for points, lines, and areas. Click here for more information.