The Intterra Performance Tools suite provides an interactive dashboard/graphical way to analyze the types and locations or hotspots of incidents within your critical areas and communicate the history of response times broken all the way down to a single resource and shift. The primary value is that staff, based on their assigned duties, can access one or all tools and see the ‘what and where’ of response information for better planning, safety analysis, prevention programs, and service standards management. Units can easily check their recent performance and notice anomalies or errors in the records.
The suite includes these tools:
Incident Metrics assesses Incidents By Hour and Total Response - Alarm to Arrived.
- Incident Performance assesses incident Alarm Processing - Alarm to Dispatch and First Arriver - Dispatch to Arrival.
- Unit Response Performance assesses unit Turnout Time - Dispatch to Enroute and Travel Time - Enroute to Arrived.
Performance Tools require CAD or RMS integration and are available in the Intterra Maps App for agencies using the Analytics and Reporting Module.
Using Performance Tools
To see dynamic Performance reports in Intterra, access the Unit and Incident Performance Tools from Tools Menu, usually available in the Performance (perf) Workspace.
While each tool assesses different metrics, the basic layout and operation is the same.
- Adjust the filters (parameters) for a date range, stations, shifts, units, and call types, as needed for your analysis.
- If date range was adjusted, select Apply Date.
- To show the applied filters, select Show Filters.
- The total records with the applied filters will display. Note: There will normally be more records in the Unit Performance Tool compared to the incident tools for the same date range since multiple units may record to a single incident.
- The report produced is in the form of donut charts with selectable slices. Select each slice to see the units that are represented by the slice show up on the map.
- Select Show density map to get a picture of the data clusters occurring within the timeframe chosen. Use the slider tool to adjust the 'heat' sensitivity. TIP: This may be more useful if you adjust the All Incidents pulldown menu to show all Fire or all Rescue for a broader span of dates.
- Auto zoom (if left in the default ON mode) adjusts your view of the map to the results of your report query.
-
The Map Legend is symbolized using the Final NFIRS Code's first digit that identifies the NFIRS 'Group' category, 1 - 9.
-
Tools are available to export the data (using the applied filters) and search incidents by ID. Note: The specific incident ID needs to used and and it must be within the applied date range.

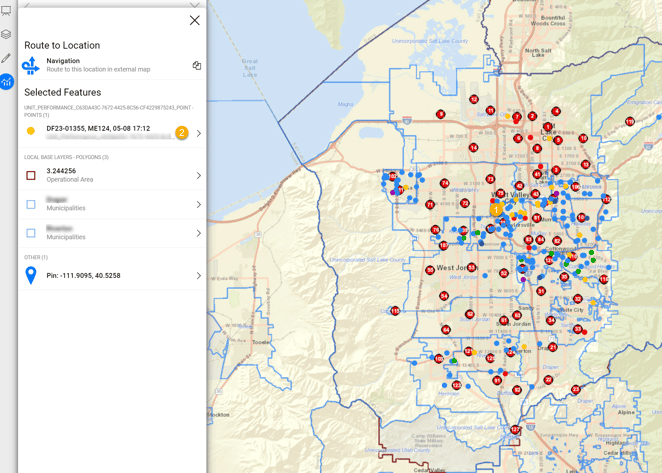
See How an Individual Incident Affected Response
- Click on an incident.
- Select the incident from the Info Panel to view additional details.